Chances are you’ve used or seen a Product Finder or Product Quiz on an ecommerce shop over the years. You’re asked a series of questions to help you as the customer determines what product fits your needs. They have become increasingly popular digitally native vertical brands trying to stand out amongst the competition with a more personalized customer experience, and because they are proven to help drive conversion on ecommerce websites.
Have you ever wondered how they built them, how long it took, and if it was extremely costly? Well, building a product finder for an ecommerce shop is simple, cost-effective, and easy to integrate if you purchase the right tool. Depending on the number of products, it can take as little as 4 days from start to launch.
How to Build and Launch a Product Finder in 5 Steps
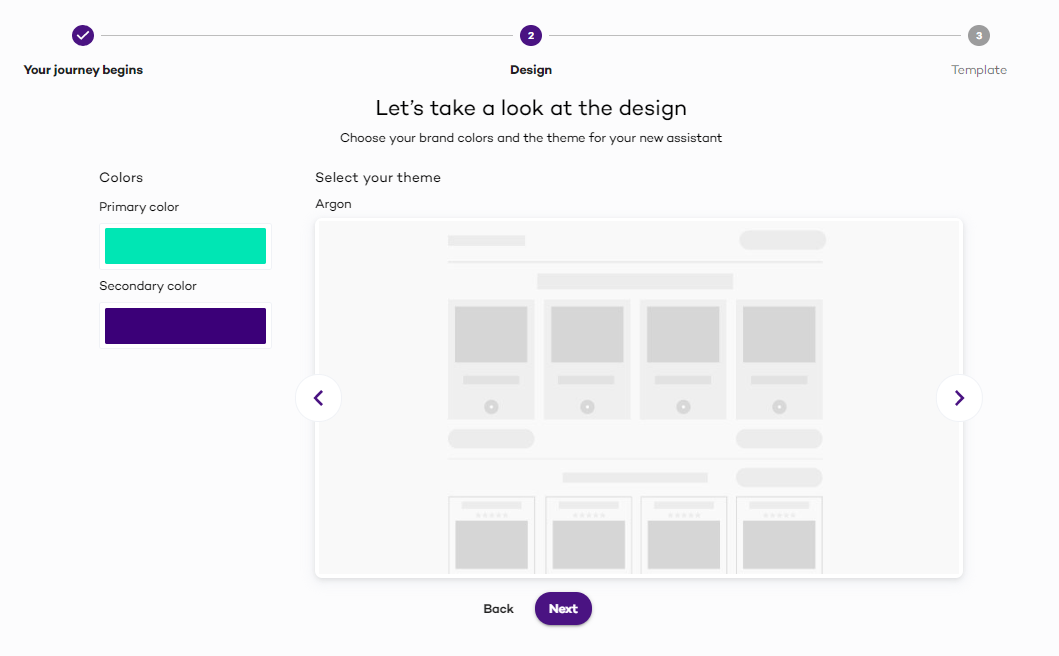
1. Pick a Product Finder Pre-Built Template
If you’re looking to see the benefits of a product finder within days of purchasing, it’s important to pick a solution with tested and proven templates to accelerate the build and launch of the product finder. There should be templates for a variety of product categories that you can then customize questions, answers, and images to best suit your products.
 Make sure the Product Finder solution lets you:
-
- Choose from a variety of out of the box templates or custom theme
- Use their images or lets you upload your own
- Pick a language and region to ensure localization is top of mind
- Add your brand colors, font, and styling guidelines.
2. Upload Product Data to Product Finder Software
You can’t match a customer to the perfect product without information about the product! A product finder solution should have two options for uploading product data:
-
- Use of a static file, like an xls, xlsx, or csv
- Automated feed from an ecommerce or product management system
Don’t worry too much about any missing product attributes or gaps in your product data, a flexible, easy-to-use product finder tool should let you upload and edit product data within the platform. Most will require you to include the following fields:
-
- Product Name
- Price
- Image URL
- Product URL
- SKU
Remember, product finders help cut through the product description data clutter and focus on the benefits of the product. Once the data is uploaded, it should be easy to alter and map product attributes to the questions and answers (we’ll get to that at step 4).
3. Review & Modify Questions and Answers
Once you’ve picked your template and uploaded your product data, you should be able to review and make any modifications to the questions in the product finder to better suit your customer.
Let’s say, for example, your business sells dog food for the discerning, ingredient-focused dog owner. The template product finder for pet food may need additional questions to match the needs and wants that you know factor into their buying decision. Or you may want to change the tone of questions and answers to match how your customer talks and thinks. Being able to make customizations to your product finder will help you better connect with your customers and drive engagement.
4. Map Products to Answers
Mapping is where the magic happens of product finders: you get to go through your selected product catalog and start to match products to answers. These mappings drive your results page, and thus, conversion, so be thoughtful about how you map product attributes to answer paths.
Product mapping allows you to gradually narrow down the product options for your customer, i.e., the dog food company asks “How old is your dog?” they have criteria, or rules, to not have results for puppy food to be presented for a customer with a senior dog.
Product mapping is what propels the product finder to provide the most relevant product option to your customer. It should be easy to add, modify, or remove mappings if needed.
5. Integrate the Product Finder
Before integrating the product finder, it is recommended to test it out using a variety of different answer paths and make any needed design adjustments. Then, all you need to do is copy your product finder’s unique integration code in Javascript, and paste it into the body of the page you want it to show up on. Update and publish the page, and it’s live.
As customers start to engage with your product finder, it’s easy to see where you need to make any changes to optimize the experience and provide more accurate recommendations. Once it’s working, you can integrate the product finder into PPC or social media campaigns, optimize them for SEO, or any other critical acquisition channel your business uses.


